CategoryBattery
Now, I do have one, but I must admit it's not something I reach for frequently. The reason? Well, I find that the batteries tend to disconnect easily if the charger gets bumped. As I tend to charge my batteries while on the move, especially during my travels, I've discovered two other battery charger options that I've grown to really appreciate.
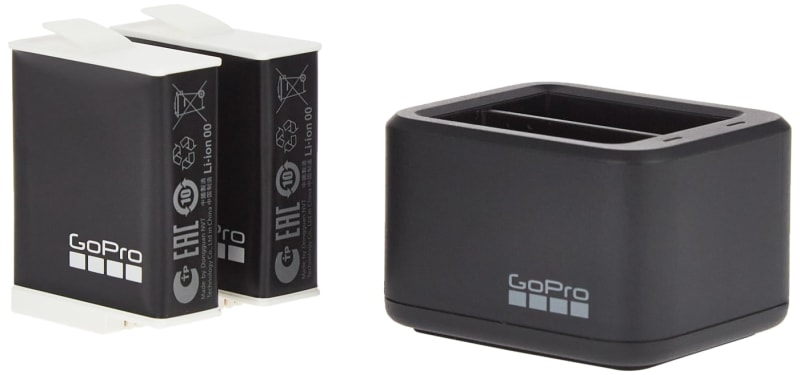
When you grab the Hero 11, you're fortunate to receive one Enduro battery as part of the package. However, there's a small catch – you don't receive an extra battery or a dedicated charger. To address this, GoPro offers a solution. You can purchase a bundle comprising two spare Enduro batteries and a speedy double charger for around sixty dollars. It's quite a decent deal, considering the value it adds to your GoPro setup.
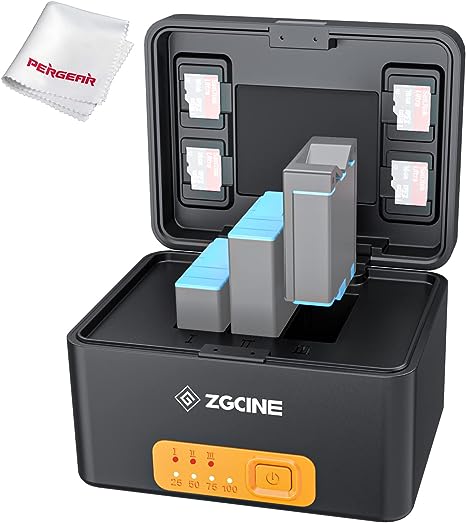
The standout advantage of this case is its built-in rechargeable battery. This nifty feature enables you to charge your GoPro batteries while you're on the move, offering additional convenience. Plus, it can even double as a power source for other devices, such as your cell phone.
However, there is a downside to this otherwise impressive charging case. It's a tad on the larger side, which might make it a bit unwieldy to fit into your pocket comfortably. Additionally, it's worth noting that this charging case comes with a higher price tag, which could be a consideration for some.
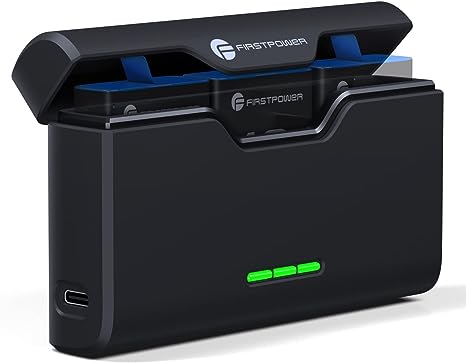
Now, let's shift our focus to an alternative charging option that has caught my attention – the First Power Quick Charger. This charger stands out due to its compact size, which is more reminiscent of a cell phone. Unlike some other options, it doesn't come with a built-in battery. This design choice allows it to be more streamlined and closer in size to your typical mobile device.
To use the First Power Quick Charger, you'll need to connect it via a USB-C cable. While this does mean that you'll require an external power source, the benefits are substantial. It takes roughly two and a half hours to fully charge your GoPro batteries using this charger.
CategoryAudio
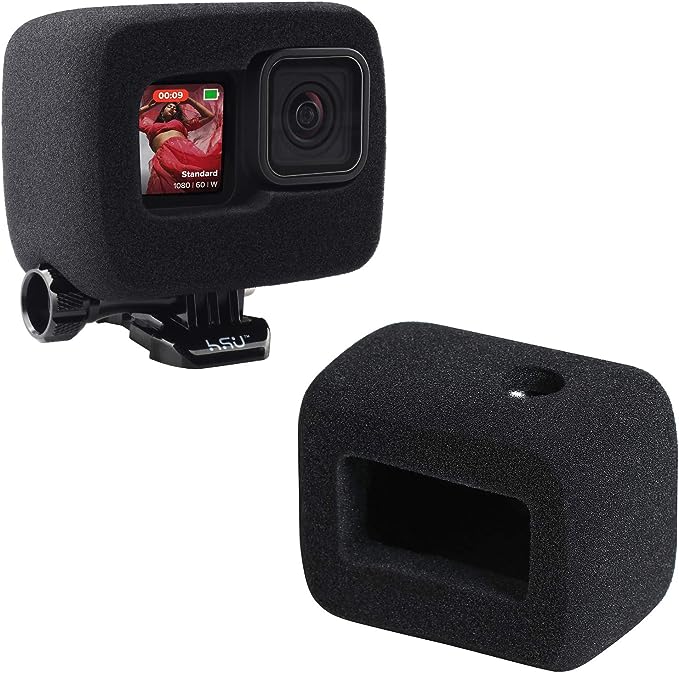
You know, you guys had some great advice when it came to the GoPro WindSlayer. I gave it a shot, and I must say, you were absolutely correct. This little foam accessory does wonders in blocking out wind noise while still preserving audio quality.
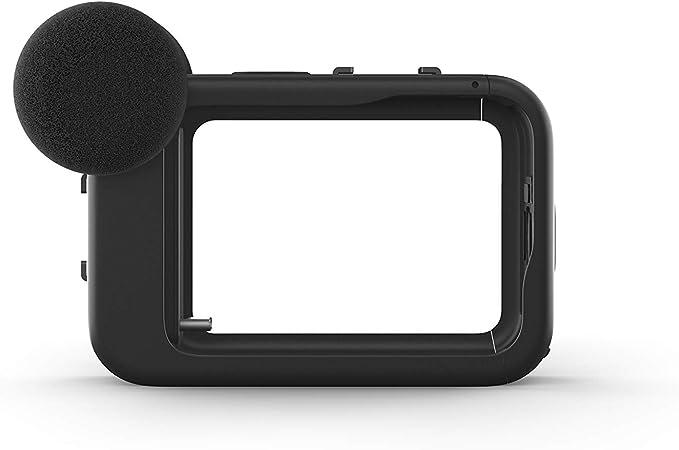
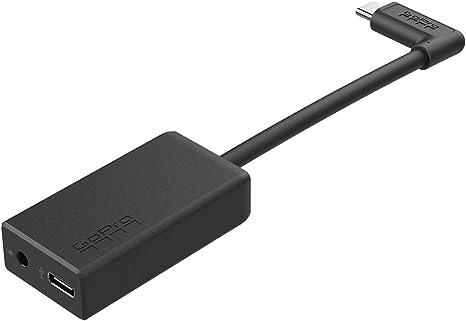
If you're looking to connect an external microphone to your GoPro, there's an important consideration to keep in mind. Recent GoPro models lack a built-in 3.5-millimeter microphone jack, which means you'll need either the GoPro Media Mod or the GoPro Mic Adapter to achieve this connection. This step is crucial, as it allows you to bridge the gap and successfully integrate an external microphone into your setup.
The GoPro Mic Adapter becomes essential due to the absence of a built-in 3.5-millimeter microphone jack on recent GoPro models. Moreover, using USB-C microphones directly with GoPros isn't possible. To bridge this gap and enable the use of external microphones, the GoPro Mic Adapter steps in as a vital component.
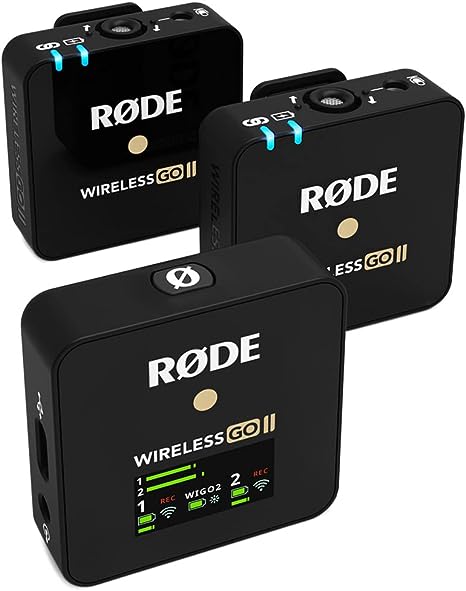
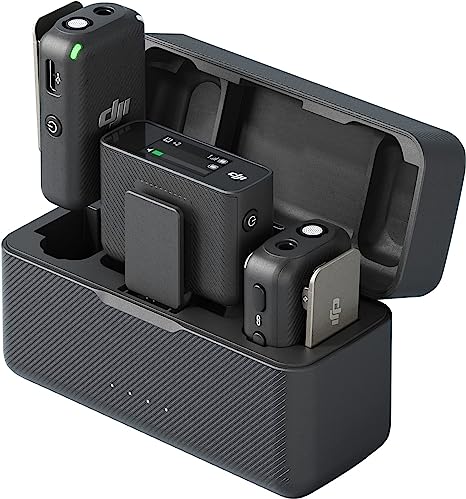
For those who own the Rode Wireless Go 2 or the original Rode Wireless Go microphone system, here's a valuable tip: consider investing in a charging case to revolutionize your audio setup. Without such a case, manually charging each unit can be time-consuming. In contrast, a charging case brings significant time-saving advantages.
I've got to say, the DJI microphone has truly captured my heart and remains my absolute favorite choice. One of the standout features is its compact size – it's notably smaller than the Rode microphone. Additionally, the DJI microphone package includes a sleek charging case, a feature that's absent from the Rode microphone offering. This convenience factor truly sets the DJI microphone apart.
CategoryMount
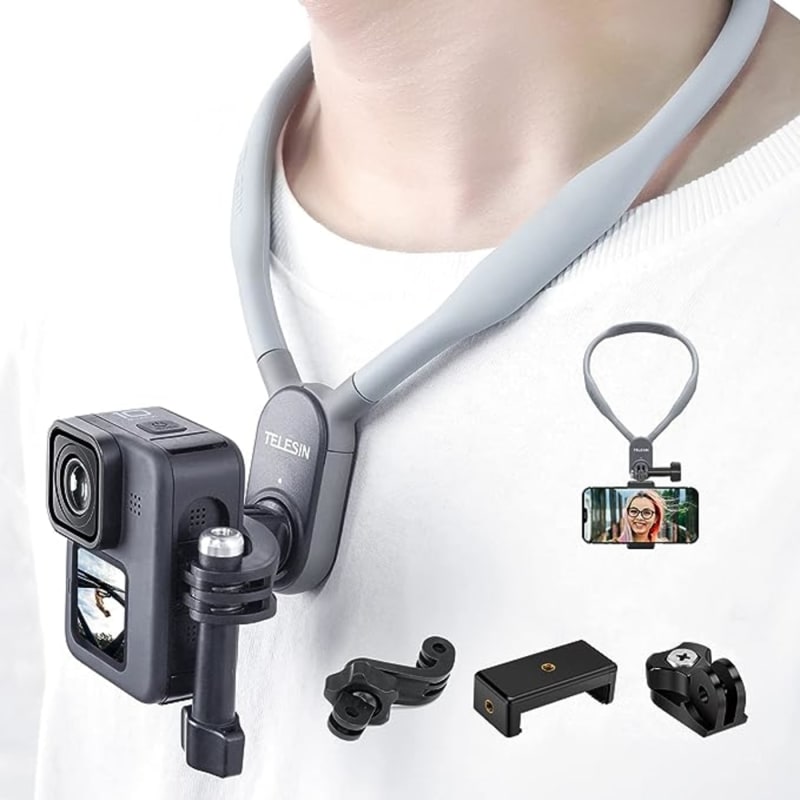
Let me introduce you to my newfound favorite accessory – the neck mount. It's been an absolute game-changer for me, providing a unique point-of-view perspective that's hard to match. What sets this neck mount apart is its impressive rigidity – it remains rock steady, unlike those flimsy necklace mounts I've struggled with before.
Ease of use is another strong point. This mount is a breeze to set up. Just unhook the clasp, drape it around your neck, and snap it back into place. Attaching your GoPro is a breeze too, thanks to the magnetic mount. It's a far cry from dealing with cumbersome alternatives like the GoPro Chesty or other chest mounts, which can be weighty and tricky to position.
All in all, this neck mount is a welcome addition to my kit. It delivers stability, simplicity, and a POV angle that adds a whole new dimension to my footage.
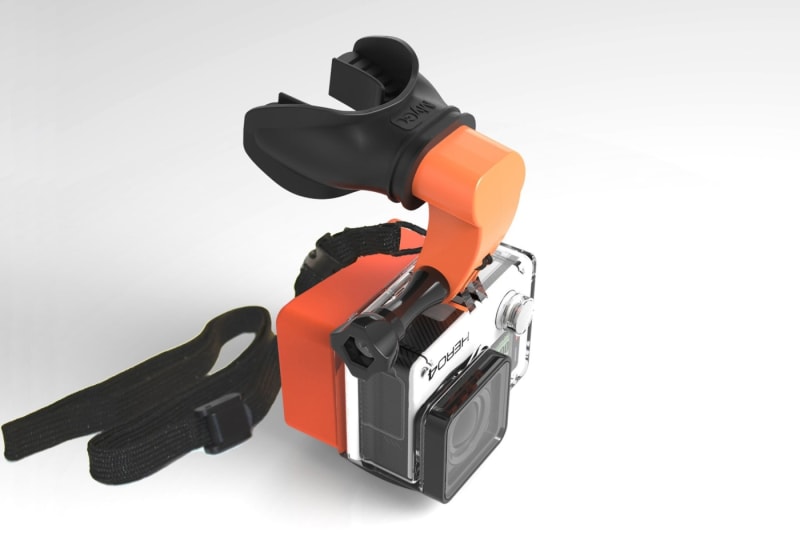
Let's talk about the Bite Mount, a unique accessory that offers a POV perspective. However, there's a trade-off – using this mount means you won't be able to speak as the camera is securely held in place by your mouth. I've found the Bite Mount particularly useful for capturing action-packed scenes, such as when swimming.
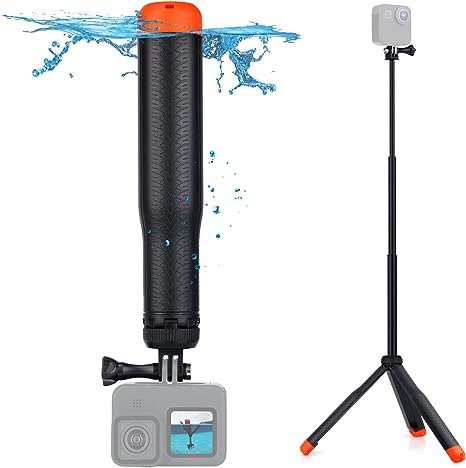
The new Bare Floating Grip – a compact accessory measuring nine inches in length, extendable up to 22 inches. While it offers impressive versatility, I find it particularly useful for situations like swimming underwater. Unlike using an extension pole, where using both hands can be challenging, the Bare Floating Grip allows for a more natural and comfortable experience while swimming.
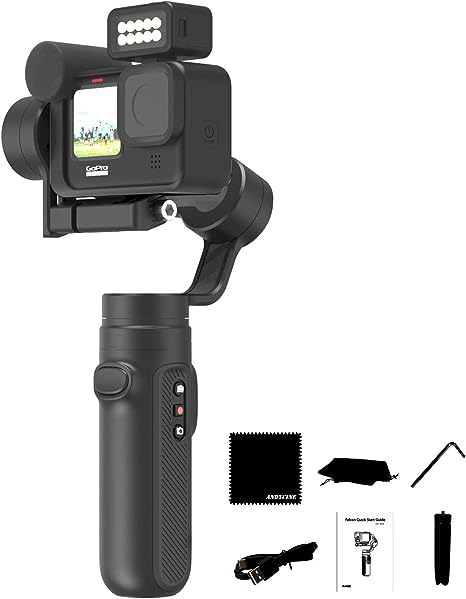
Gimbals not only aid in achieving stability, but they're also fantastic for capturing moving time lapses. Among the various GoPro gimbals I've tested, one that has caught my attention is the Inkee Falcon Plus. This compact gimbal stands out for its ability to support the media mod, a feature not common among many GoPro gimbals. Its compact size and compatibility with the media mod make it an appealing choice for those who require stability and versatility in their shots.
The Insta360 stick, impresses with its sturdiness and extendable design achieved by pulling the camera end. However, there's one drawback: it lacks a built-in tripod feature.
This versatile accessory can also extend into a selfie stick, similar to the Insta360 stick. The Pgy Tech option is notably shorter, which enhances its portability and makes it less conspicuous. It easily fits into my pocket, making it a convenient choice.
I've been utilizing the GoPro Jaws, a classic grip, in various scenarios, including my cooking video and YouTube content. This Mount is fantastic for securely attaching the GoPro to surfaces like tables, countertops, stroller handles, or bicycle frames. It's a versatile tool that enables creative shooting angles and POV shots.
CategoryQuick Releases
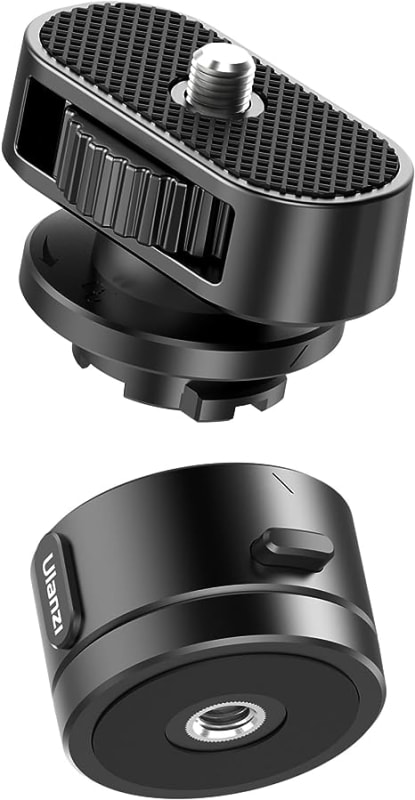
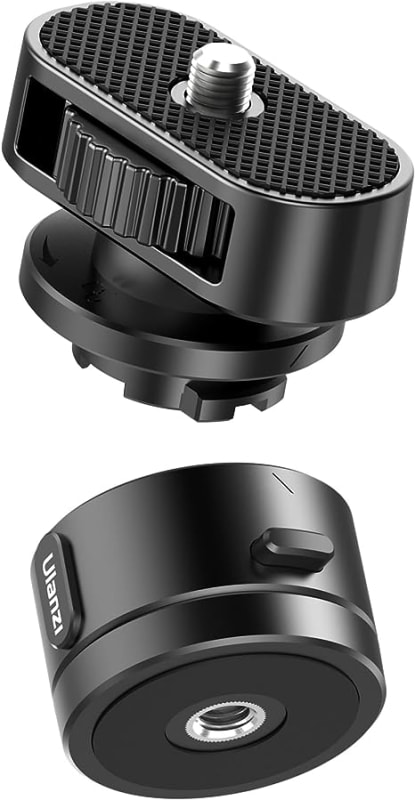
They're designed to speed up the process of swapping mounts, preventing the hassle of fumbling with GoPro fingers and screws. Believe me, that seemingly minor action can eat up precious time.
For me, the Ulanzi GP4 Magnetic Quick Release is the go-to choice due to its convenience, affordability, and ease of use.
Their purpose is to expedite the task of changing mounts, eliminating the frustration of struggling with GoPro fingers and screws. Trust me, this seemingly insignificant step can consume valuable time.
CategoryBackpack Clip
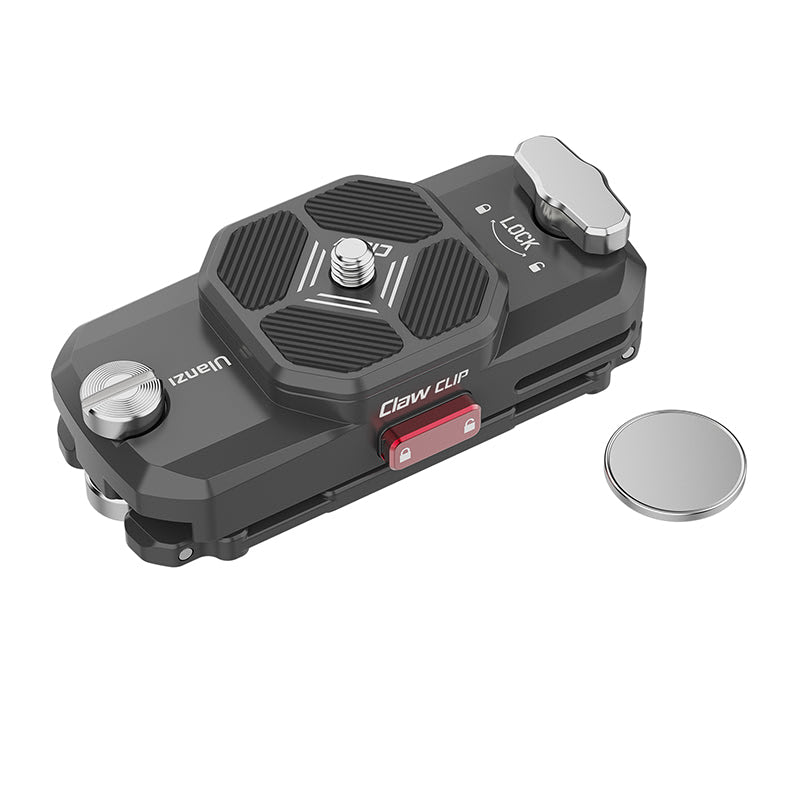
Additionally, I'm quite fond of the ulanzi claw due to its specialized backpack clip, which is my final essential item. While the previously mentioned necklace Mount excels in capturing POV shots and offers stability, it can still experience slight jolts while in motion, largely due to its dependence on gravitational forces.
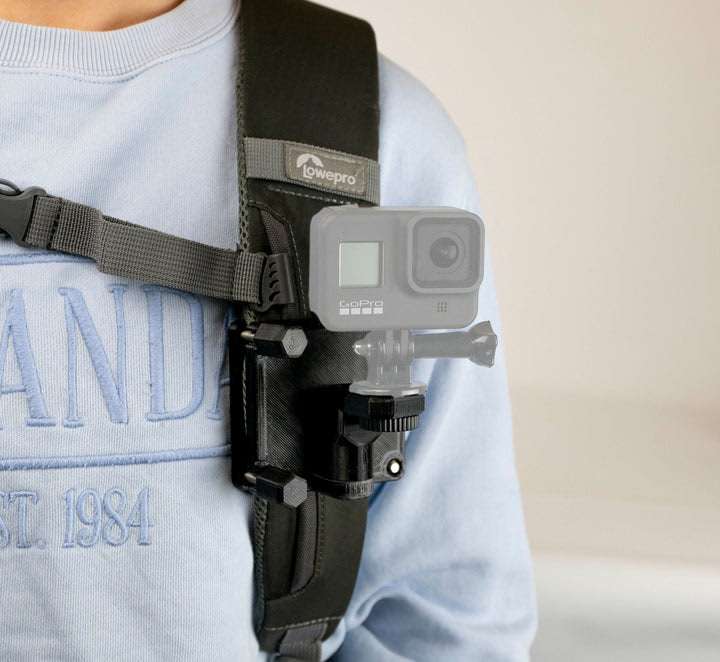
This option holds distinct advantages over traditional camera clips such as the claw or the peak design capture clip. Its wider design allows it to easily fit thicker and broader backpack straps. What's even more appealing is its swivel feature, enabling you to adjust the GoPro's angle from side to side. In contrast, many other camera clips only provide the option to adjust the camera vertically, not horizontally.
CategoryFilters
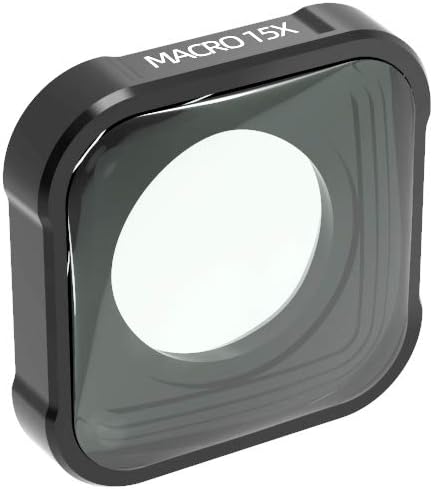
Replace the default GoPro filter with a powerful 15 times macro filter, and you'll be able to capture intricate, up-close details of your subjects. The results were impressive, clearly showcasing the fine details. This macro filter proves its effectiveness in enhancing your shots with its superb ability to magnify and capture intricate subjects.
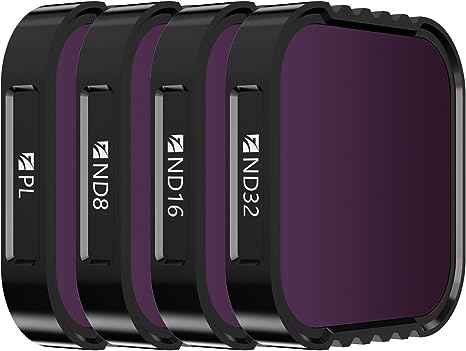
Take a look at the ND and polarizing filters from Freewell. These filters are designed to fit seamlessly, similar to the macro lens. While they may not facilitate close-up shots, they play a crucial role in achieving balanced lighting. If your image appears overexposed, the ND filters come in handy. Additionally, the polarizing filters effectively reduce reflections and enhance color saturation, resulting in improved visuals.
CategoryLights
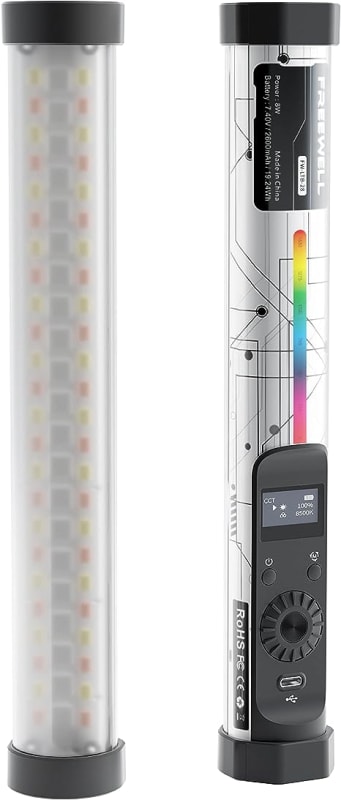
I utilized the Freewell 28-centimeter tube light, a wireless RGB light that offers color-changing capabilities. This light proves to be quite durable and long-lasting, maintaining its performance over extended periods when fully charged.
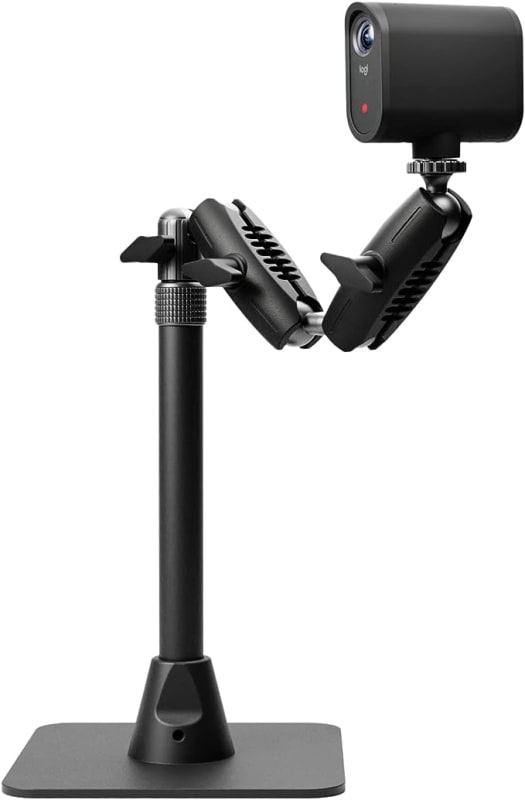
The Logitech Mevo table stand, which boasts a robust build capable of supporting cameras and accessories with ease. The FreeWell 28-centimeter tube light, though portable, carries a slight drawback due to its bulkiness. Mounting it onto a GoPro can be a challenge, and its size can be a hindrance.
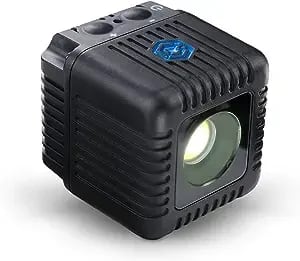
If you're seeking a robust lighting solution to attach directly to your camera during dynamic filming situations, I highly advise considering the Lume Cube 2.0. Unlike the FreeWell light, which can be challenging to mount on top of a GoPro due to its bulkiness, the Lume Cube 2.0 is designed to seamlessly integrate with your camera setup. Additionally, you have the option to choose a version equipped with filters that offer light softening and color temperature adjustments, enhancing the versatility of your lighting setup.
 Dual Battery Charger
 Enduro Battery
 PS-G10 Charging Case
 Battery Charger
 WindSlayer
 Media Mod
 3.5mm Mic Adapter
 Wireless Go II
 Mic
Mic Necklace Mount
 Bite Mount
 Floating Grip
 Falcon Plus Gimbal
 Selfie Stick
 Mini Tripod
 Jaws
Jaws Snap Mounts
 GP-4
GP-4 Claw
Claw Claw Backpack Clip
 Pack Strap
 15x Macro Filter
 Polarizing ND Filters
 28cm RGB Tube Light
 Mevo Table Stand
 LumeCube 2.0